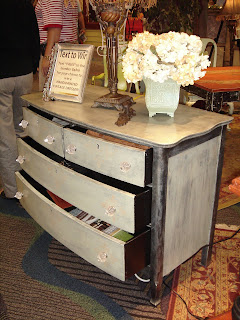
Last year for the Home Decorating and Remodeling Show in Nashville, TN we had a huge booth space and were racking our brains for ideas to fill the space and showcase Brooks' beautiful paint treatments. We came up with the idea to paint some furniture. We found some pieces on Craig's list that we picked up very inexpensively and then gave them a makeover. The pieces he painted turned out to be the hit of the show. We gave away a dresser last year at the show.

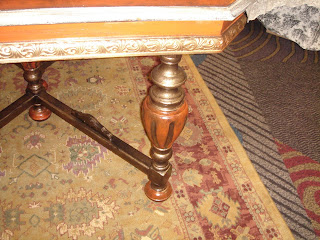
We also painted this table.

This year Brooks painted another table


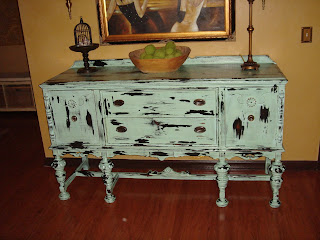
and a buffet.

I had been begging him to paint the buffet for my birthday and the Home Show was the perfect excuse for him to get it done. It now has a new home in my foyer. The table is still for sale. If you are interested, drop me a comment or an e-mail.
Well, we met so many wonderful people who stopped to admire the buffet. We also had about 100 people stop to tell us they had a buffet just like it. About half said, "I would never paint it. I can't believe you did that". The other half said, "I love it. Will you tell me how you did it?". So, for those who loved it, this one is for you. We started with the original stained furniture finish. We used a brush to paint it with a product called Set Coat Black by
Faux FX. Next we applied a crackle medium to the top along with some smears of
Vaseline in a random pattern all over the surface. Then we sprayed on a coat of Sherwin Williams 6758
Aquaduct. After the paint dried, we wiped off the
Vaseline areas which took off the top layer of paint creating a distressed look. Lastly we took a fine grit sandpaper and distressed areas that would traditionally see a lot of wear. Then we finished it off with a top coat of a non yellowing polyurethane for protection. There you have it.
If you're not brave enough to attempt this
DIY paint project yourself give us a call. We will be glad to help.
 We are on a never ending quest to find dazzling finishes that will fit a variety of budgets. Many of the finishes in our portfolio are created using high quality proprietary products. Most of our clients are watching their money a little more closely than usual and have started asking for finishes with lower product costs. Brooks did a little experimenting in our dining room this week and came up with a pretty cool finish that he created by mixing about 4 different colors of regular latex paint.


