Monday, August 30, 2010

Mirrored Ceiling Medallion


We are in the process of transforming our daughter's room from "princess castle retreat" to "Hollywood Glam Fashion Designer Den". When I say, "we" I mean Brooks does all the physical dirty work and I do all the shopping, design and fun stuff. The princess room had this daisy fan with gold ceiling and twinkle dragon fly lights. For the re-design we opted for a crystal chandelier for that sparkly Hollywood Glam style. I found a 1950's crystal chandelier on Craig's list for $130 smackers. What a deal! I went online looking for a mirrored ceiling medallion that would reflect the light and cast a glow around the room. I was very disappointed in what was available online. Just about the only thing I could find was this beauty from Horchow. But, it was way out of our price range. Since we are bonafide DIY'ers, I was on a quest to find a more budget friendly option. Around the same time, as luck would have it, Design Sponge ran this story on DIY mirrored boxes. Eureka! I had a light bulb moment. With a little ingenuity, I could transform the mirrored candle plates into my own mirrored medallion. And, when I say, "make my own mirrored medallion", I mean I could shop for the stuff and Brooks could wave his magic wand and make it appear. So, I made a trip to Hobby Lobby. They happened to be having their famous half off sale. So I got all the mirrors for $32. 
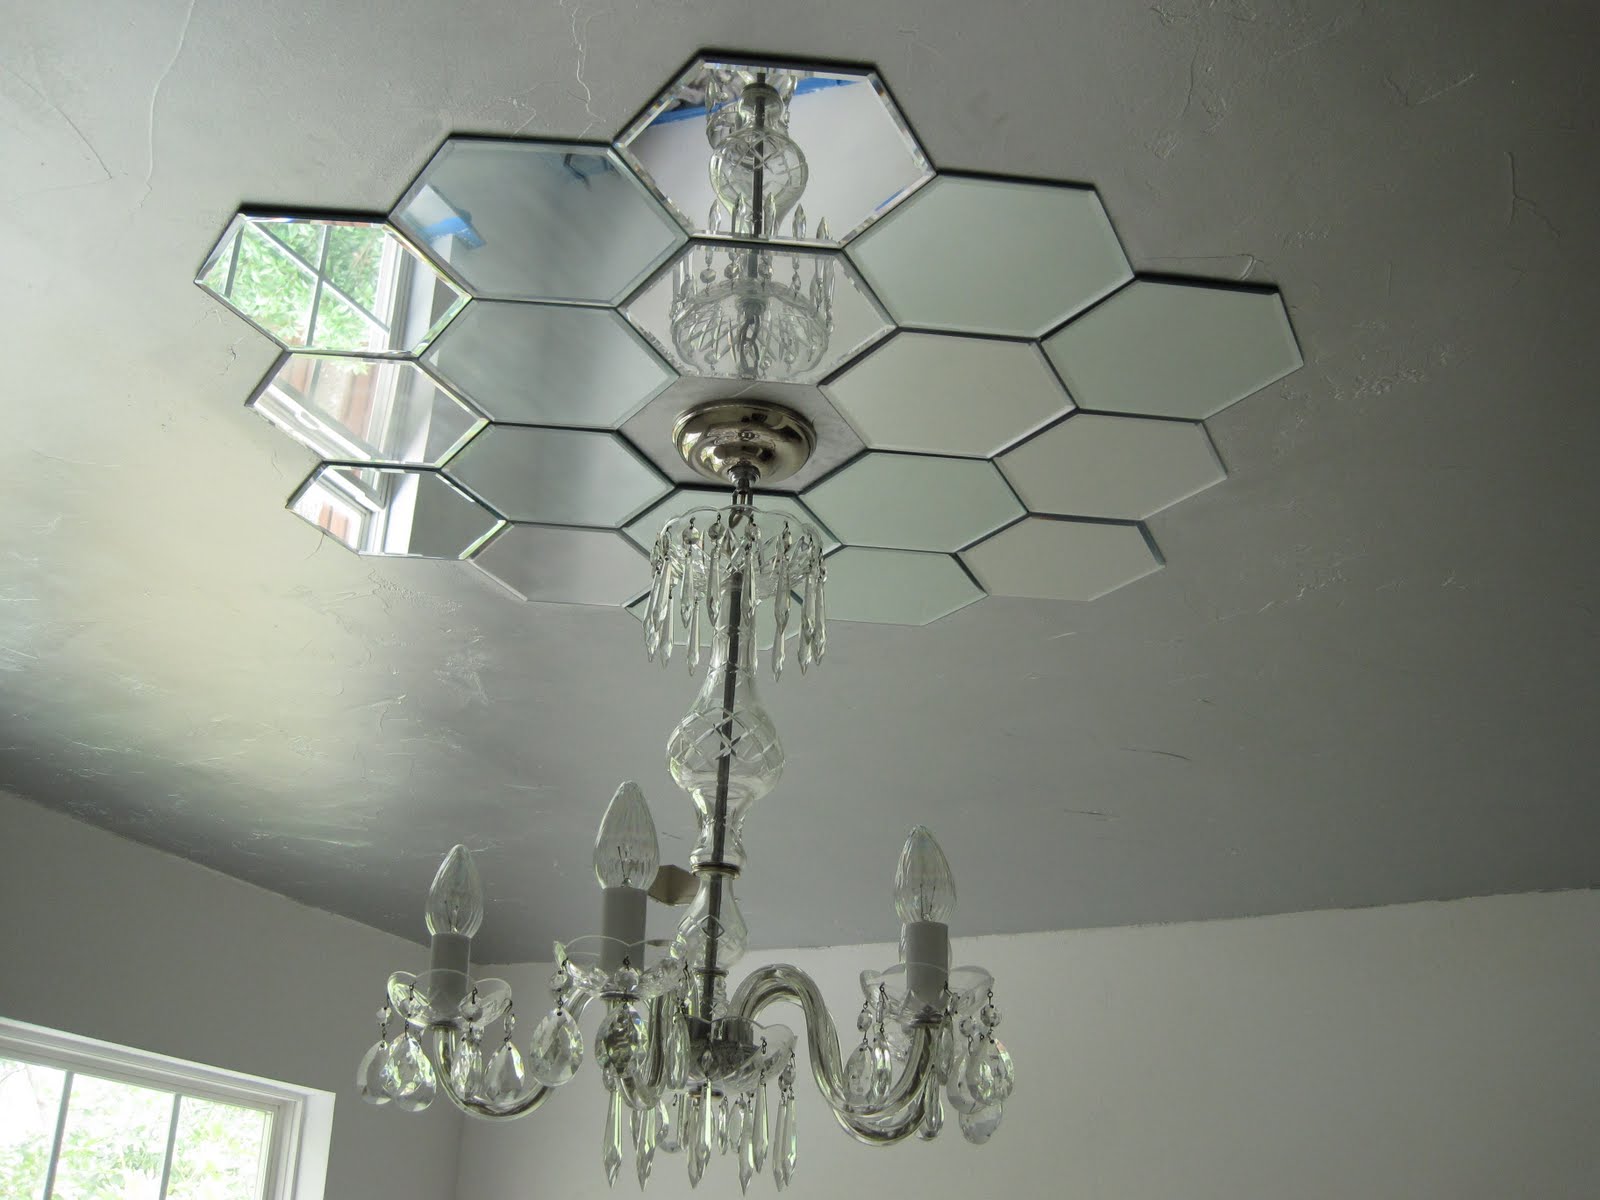
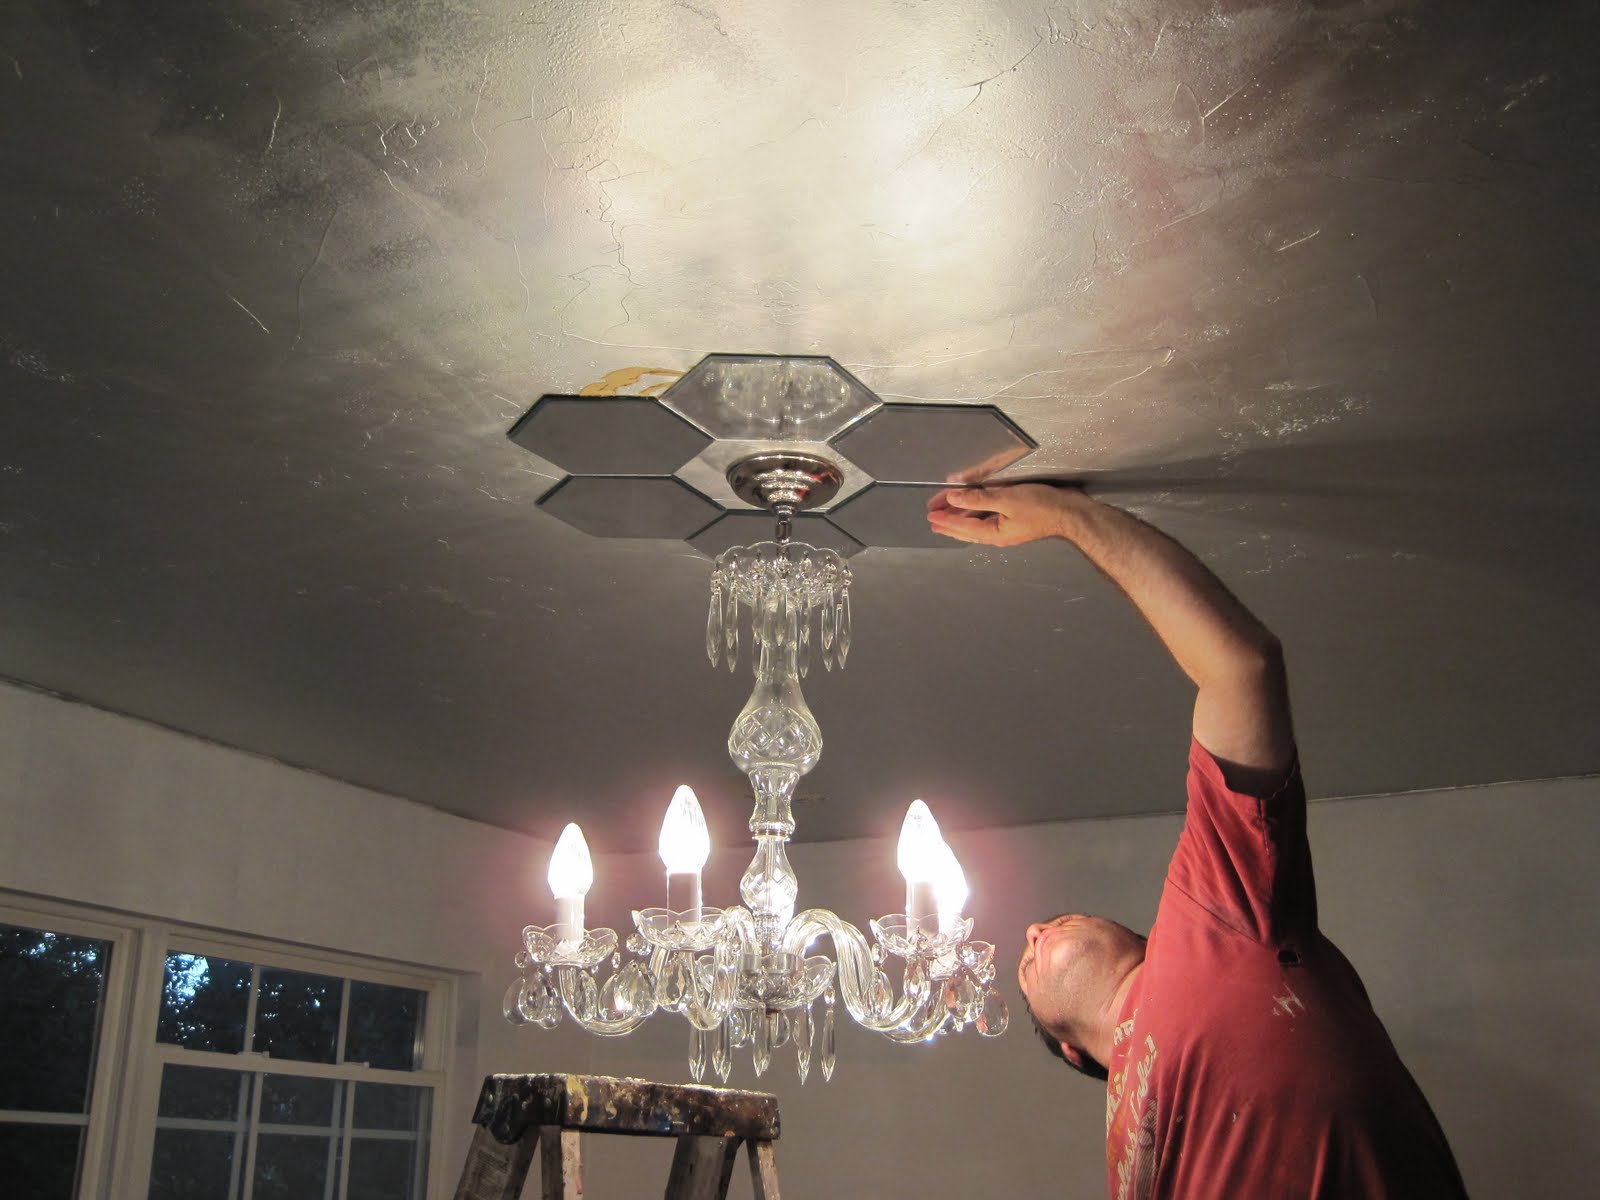
They came with those awful stickers right smack in the middle of the plates. I found out if you heat the stickers with the hair dryer, they peel off much easier. Next, we figured out our pattern and Brooks stuck them up with a tube of liquid nails.
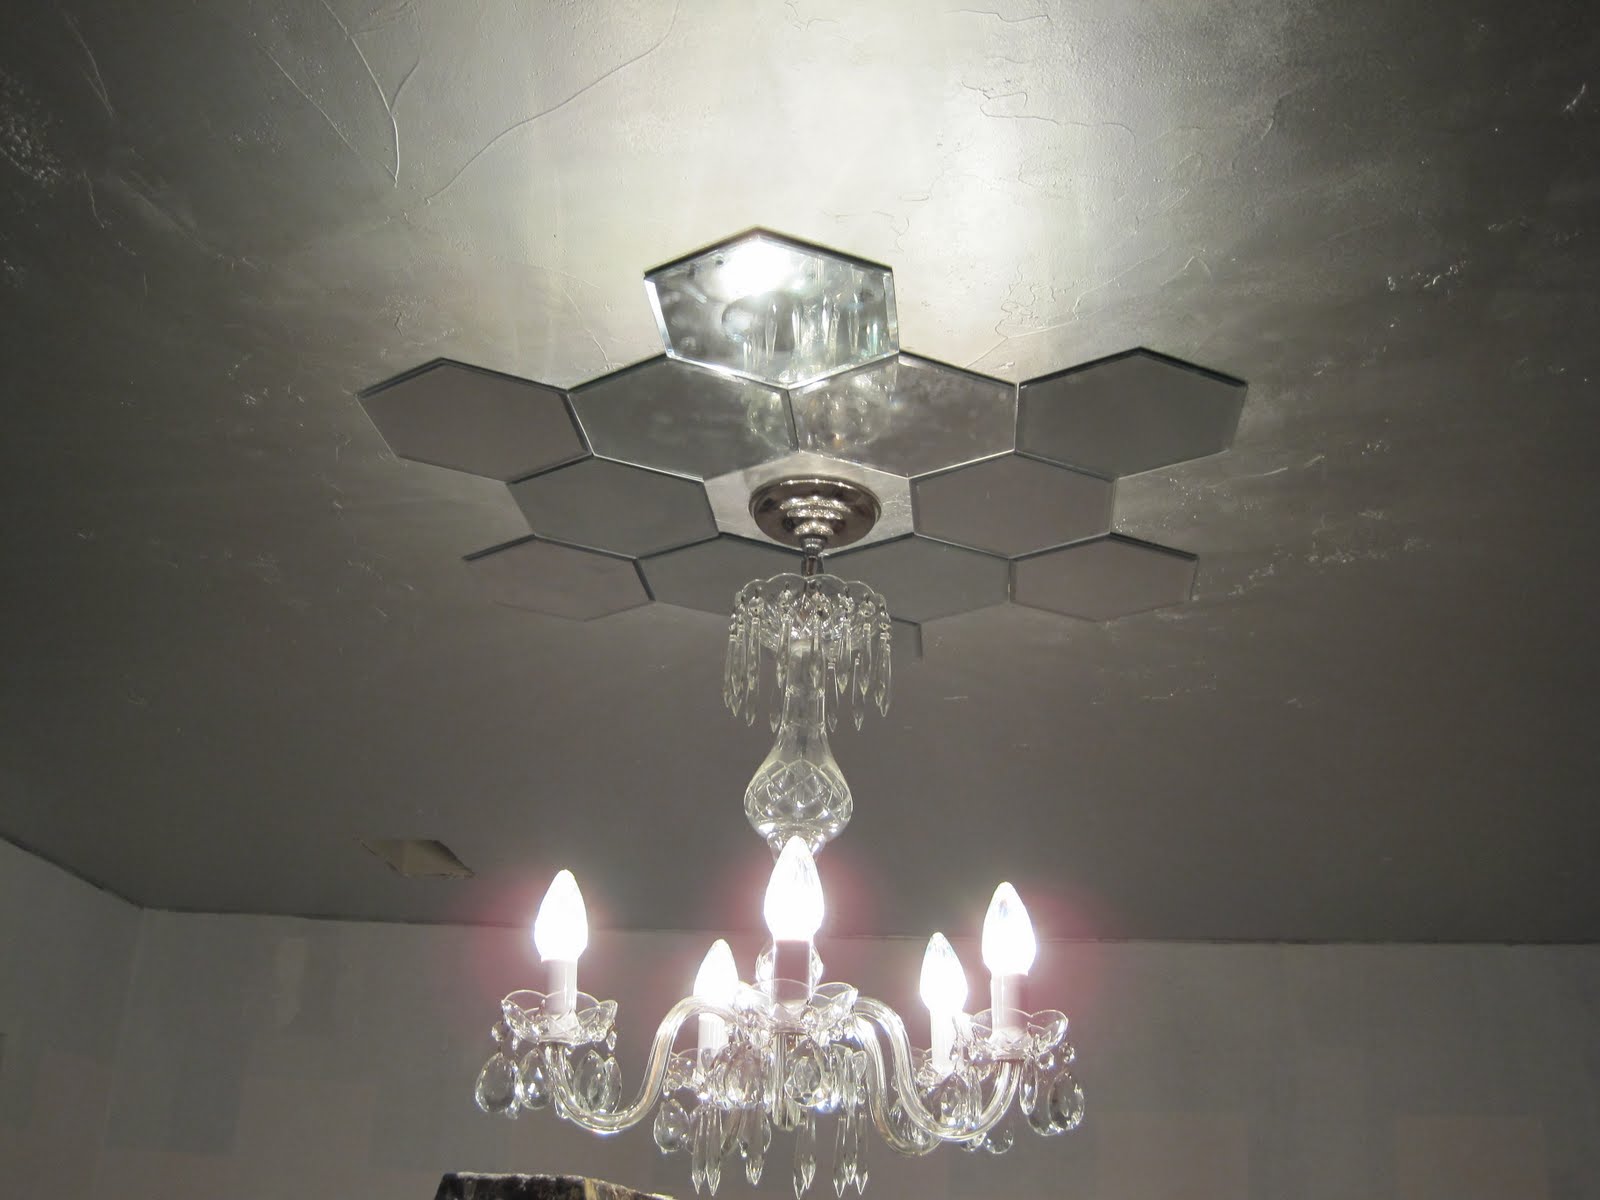
Here is the end result.
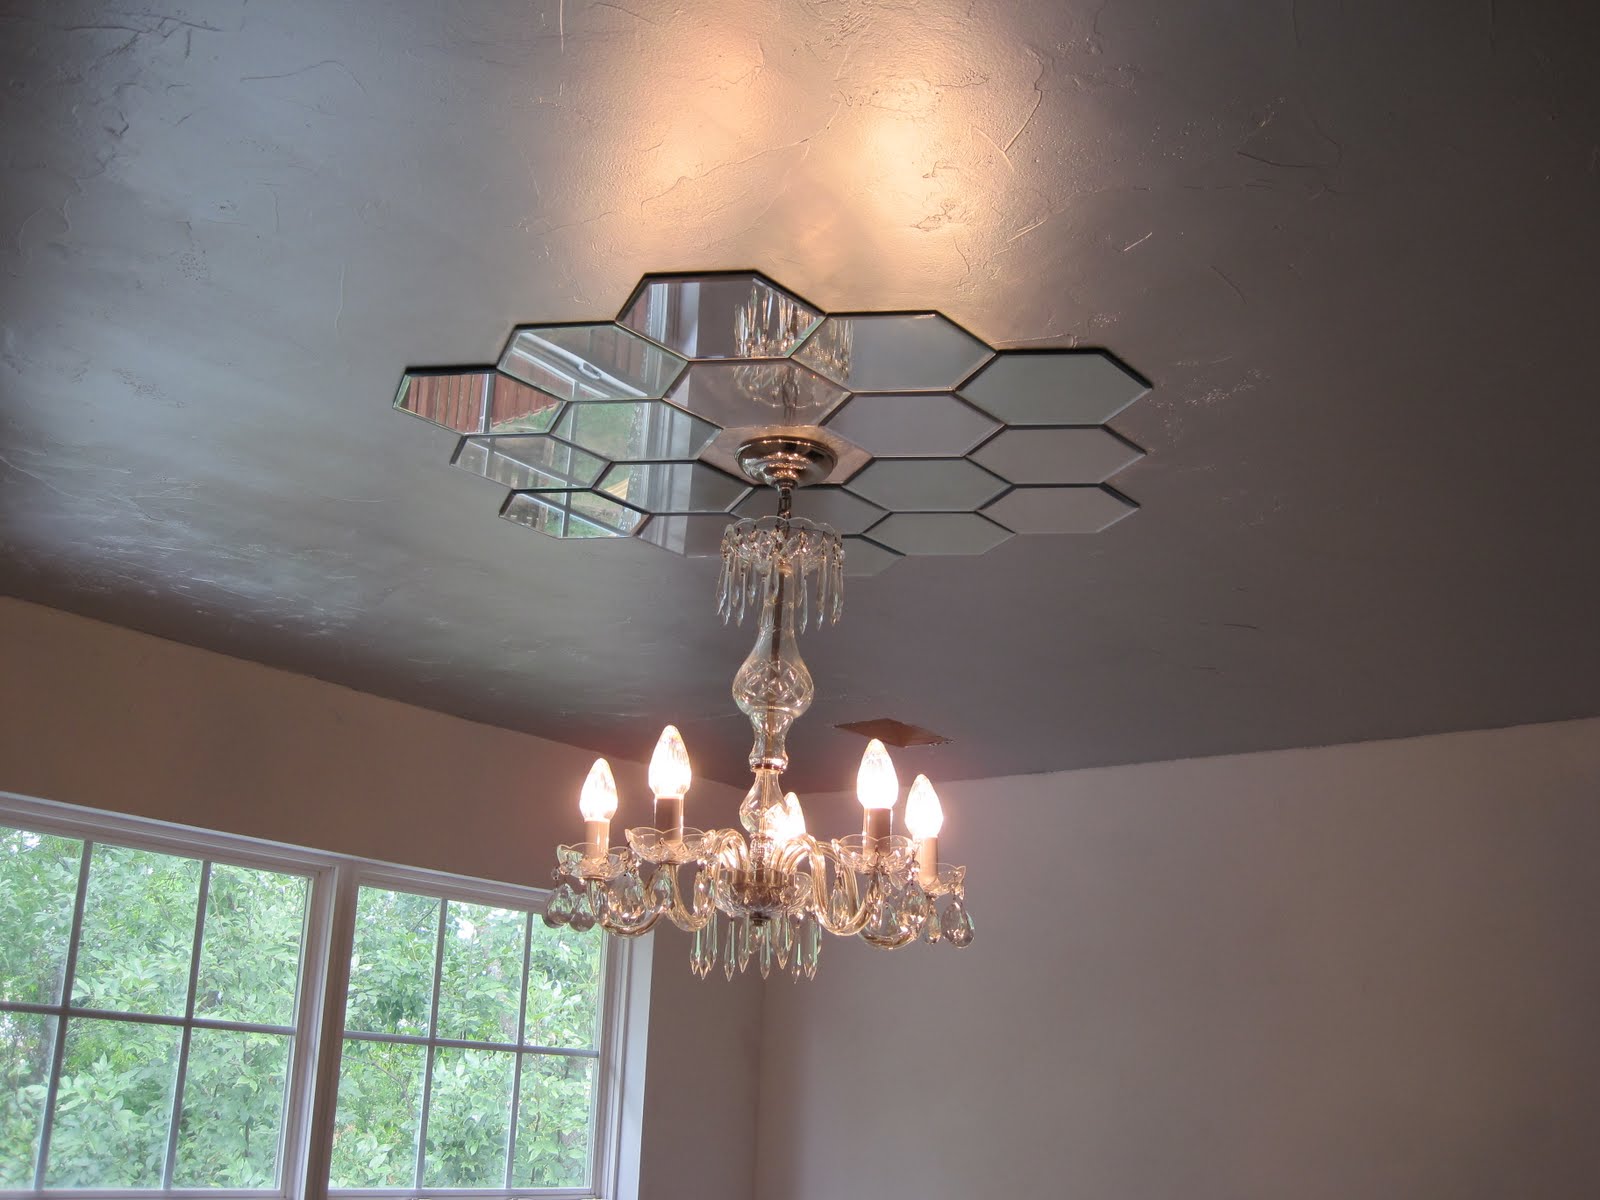
I think it turned out pretty "Hollywood Fabulous" for under $35. Stay tuned for more updates of our Hollywood Glam makeover.

Wednesday, February 10, 2010

Concrete Counter Top Magic

OK, so maybe concrete isn't really magic. But it sure can make ugly Formica counter tops disappear. We use a concrete overlay product that can be applied to virtually any surface like laminate, tile, wood, fireplace surrounds and Formica. It can be used on floors, shower and tub surrounds and of course, counter tops. It is an environmentally friendly product because it is Low V.O.C. But even more earth friendly is the fact that you don't have to tear out the old counter tops and tile. When you use a concrete micro topping in your kitchen or bath remodel you will be recycling your existing surfaces and keeping them out of the land fill. Who knows, you might even get a thank you letter from Al Gore.

Here is a before picture of a project we just finished. The homeowners had Formica counter tops that were in terrible shape.
The trim was peeling off and there were cracks and holes.
They wanted to have the counter tops replaced because they were selling the home. Today's home buyers have been indoctrinated through HGTV. Every home buyer in this area expects to see granite or stone counter tops in kitchens. We were able to simulate a limestone texture in a solid durable finish for a fraction of the price of granite.This concrete micro topping can be faux finished in limitless ways. Like the industrial acid stain look? We can do that. How about granite, marble or travertine? We can do that too.

This finishing solution is perfect for home sellers looking to upgrade, home buyers looking to remodel, and the discriminating home owner who wants something completely original and custom. And although we can't guarantee that Al Gore will actually send you a thank you letter, we do know that the Earth will thank you.

Monday, February 1, 2010

Painted Mural Alternatives

As I mentioned last month we are very excited to be working with William Bell, our new business partner at Bell and Tucker. We had the pleasure of working together on this beautiful Tattoowall ceiling installation, the first one in Tennessee! This product has really integrated art and technology.
Here is a picture of the ceiling prior.
This was done about 3 years ago. The former artist tried to work with a square image and make it fit into a circle. To make it work, they had to hand paint two of the cherubs into the finish. This ceiling probably took weeks to complete at a considerable cost to the homeowner. We were able to finish this entire area in one afternoon plus a few hours of touch up painting. Here are a few in progress pictures.
Ceiling primed and ready for image
Applying the first image.
Smoothing out the wrinkles.
Image revealed.
Applying another panel.
The finished result speaks for itself.
We hope to see many more of these Tattoowall projects in our future. Special thanks to Gaia Calcaterra of Architexture for helping to insure a flawless installation. Oh, and if you are in the market for a painted mural. We do that too.

Saturday, January 30, 2010

Painted Lampshade Makeover

I was so pleased with the way our fabric covered lampshade turned out. I asked in my last post if I should have Brooks stencil on the front of the lamp. Everyone agreed that we needed to "go for it" and add a stenciled design. I was looking for an old Paris grain/feed sack style. I found this image on line and printed it out.
Brooks taped it to the lampshade
He used a ballpoint pen to outline the image through the paper directly onto the lampshade.
Here you can see the faint outline.
Then he took fabric paint and followed the lines he created. Then he painted the scroll work and the "flower market" free hand. This is how it looks on the buffet. I LOVE IT!!! It is exactly what I was going for. A whole new look for this lampshade was achieved for $16. Can't beat that with a stick. What do you think?

Monday, January 25, 2010

Fabric covered Lampshade Makeover

I have a new obsession, it's called the drum shade. So I have this super fabulous lamp. My parents bought it for my birthday. I thought it would look great on the distressed buffet that Brooks painted for me for my birthday. The problem is, the modern style of the lamp didn't jive with the distressed look of the buffet. As a matter of fact, I couldn't get comfortable with making the buffet fit into the rest of the room either. So, I stretched my boundaries a little bit and sought some professional help. I saw a post by hugely talented photo stylist, Annette Joseph. She was offering help to readers of her blog. She requested that you send in a photo of the troubled area and she would offer her suggestions. I totally took her up on her free PROFESSIONAL advice. Here is a link to the blog post and her advice.

So, she said I needed a new lamp or lampshade. I couldn't agree more, but since I really loved the one I had I went out in search of a new shade. I looked in multiple stores, and everywhere I could think of on line. I couldn't find anything remotely close to what she suggested. So, I got the idea that I would cover the one I had. I found a couple of on line articles about the subject. I kind of merged their advice and came up with my own take on how to cover a lampshade. So here goes.

Step one. Enlist the help of someone way more artsy and crafty than yourself. I screw up every project I set out to complete and Brooks always has to rescue me. I got smart on this one and enlisted his help at the start.

Step two. Choose a light weight fabric that will let the light shine through. I chose a light weight loosely woven burlap type material.

Step three. Oddly enough our lampshade had a top on it. Cut a piece of fabric to fit the top. Glue it with fabric glue.

Step four. Cut the fabric all in one continuous piece to fit around the shade. Use fabric glue and glue around the top and bottom rim. Roll and press fabric around the shade. Do not use hot glue for this because you will be able to see the beads when the light shines through.

Step five. Let the glue dry and then trim the top and bottom with grosgrain ribbon. Let dry.

Step six. Since our shade had the weird top I felt like it needed more trim. I found some upholstery strip tacks in the garage left over from a previous project. I used hot glue on these since I didn't think fabric glue would hold. Here I am using a sophisticated piece of equipment to put a little pressure on the tacks to make sure they adhere to the lampshade.

That's it. Project complete. Next, Annette had recommended that I set up a tray of glasses and stuff to make it look like a bar. So, I had a few bottles of Pellegrino that I put on a tray with a few wine glasses. I was pretty excited about how it turned out. Thanks so much Annette for the great advice. I am thinking about having Brooks stencil something on the front of the lampshade like this:

What do you guys think? Too much? Overkill? I'd love to have some input.